

What's included
What Our Kitchen Island Installation Includes
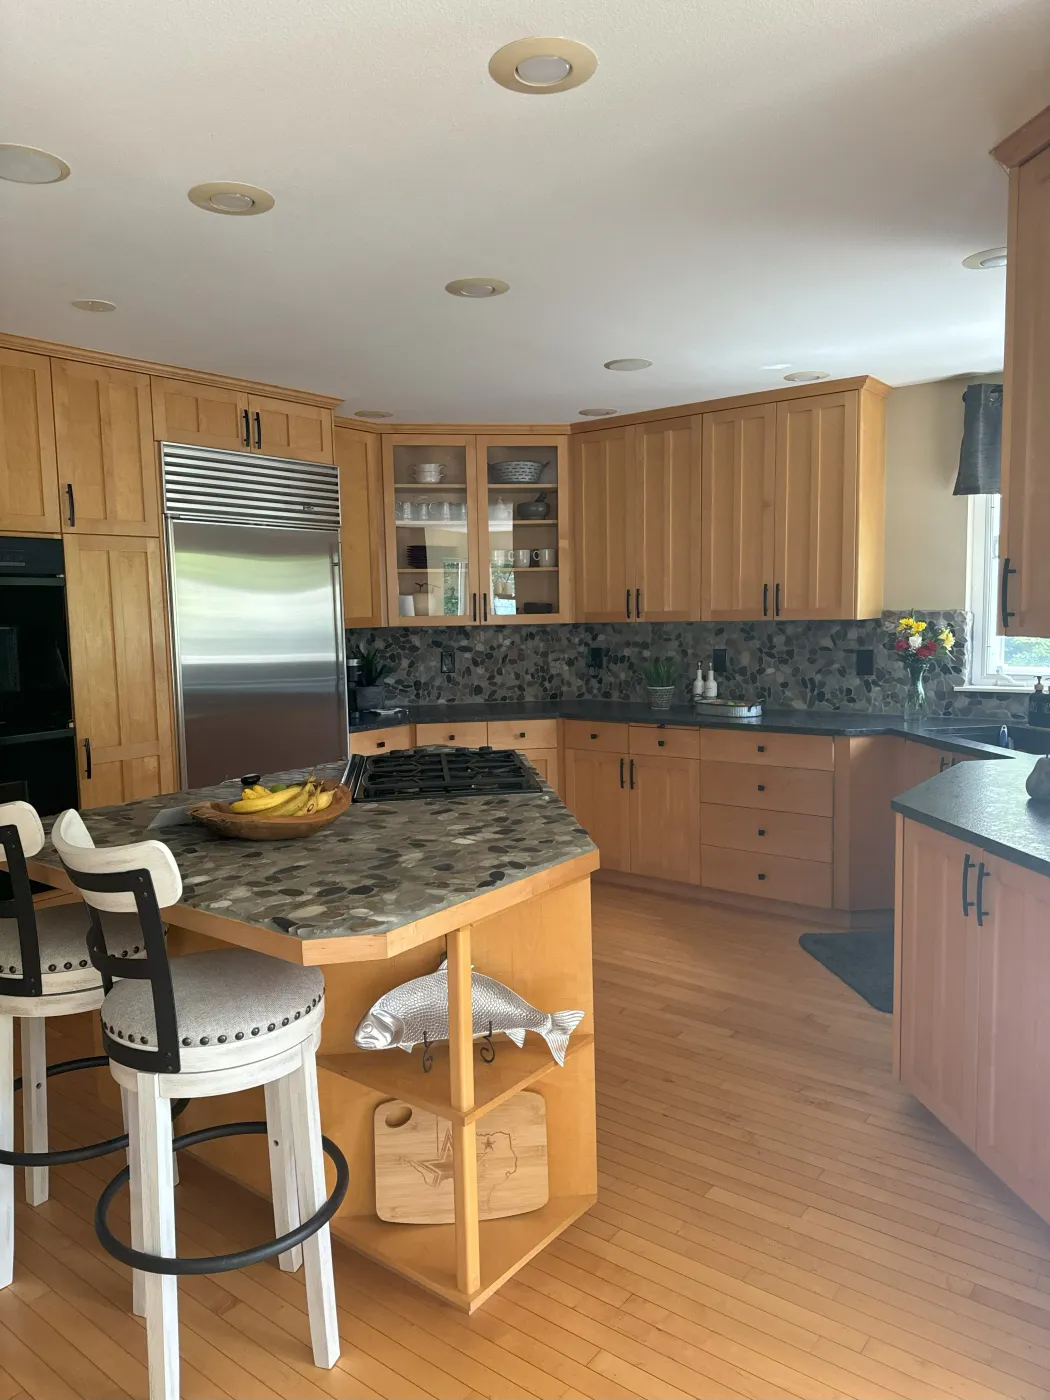
An island is a piece of cabinetry, a work surface and sometimes a plumbing fixture, all in the middle of the room.
- A layout that keeps work aisles and walkways clear on every side
- Island base cabinets or a custom frame anchored securely to the floor
- Outlets, and a sink or dishwasher if you want one, planned before the floor is closed up
- A countertop with a seating overhang supported where the material needs it
- Flooring patched or extended where the island footprint changes
Local expertise
Adding an Island to a Stanwood Kitchen
Many Stanwood kitchens have the floor space for an island. The question is how big it can be.
Most Stanwood homes are fairly recent. U.S. Census data puts the median build year at 2001, and about 46 percent of homes were built between 1990 and 2009. Many kitchens from that era have an open floor area or a small peninsula that a well-sized island can replace. The key is keeping enough room around it to cook and move comfortably.
National Kitchen & Bath Association guidelines are a good starting point. They recommend work aisles of at least 42 inches for one cook and 48 inches for two, with walkways of at least 36 inches. An island that ignores those numbers looks fine on paper but blocks the dishwasher and the fridge door in real life. We lay out the island with your appliance doors open, not closed.
Utilities are where island projects get complicated. An island needs power, and a sink or dishwasher also needs a drain and vent path through the floor. Every new water line in the middle of a kitchen is also a new place for a leak. We repair water damage for a living, so we route and connect those lines with care and check every joint before the cabinets close over them.
Our process
How Kitchen Island Installation Works
Five steps from marking the footprint to setting the countertop.
Plan the size and clearances
We measure the kitchen and mark the island footprint on the floor, checking aisle widths with appliance doors open. Then we decide on seating, storage and any sink or cooktop. The plan and price go into a written estimate.
Plan power and plumbing
We map where outlets, a sink drain and water lines will come up through the floor. Routing is usually simpler over a crawl space than through a concrete slab. Any permits the utility work needs are handled before it starts.
Rough in the utilities
Wiring and plumbing are run to the island location while the floor is open. We check the subfloor for old leak damage at the same time. Every connection is tested before it is covered.
Set and anchor the base
Island cabinets are leveled, joined and fastened to cleats on the floor so the island cannot shift. End panels and seating supports go on next. The island is then ready for countertop templating.
Top, connect and finish
The countertop is installed with supports under any wide overhang. We connect the sink, faucet and dishwasher, then install the outlet covers. A final walkthrough confirms everything works and fits.
Island options
Kitchen Islands We Build
An island can do one job well or several jobs at once. We match it to how your household uses the kitchen.
Prep and storage islands
A simple island adds counter space and deep drawers without any plumbing. It is the quickest island to install. It also leaves the most flexibility for future changes.
Seating islands
Plan roughly 24 inches of counter width per stool. At standard counter height, NKBA guidelines call for about 15 inches of knee space. We add brackets or supports when a stone overhang needs them.
Sink and dishwasher islands
Moving the sink to the island lets you face the room while you work. It needs a drain, a vent and water lines routed through the floor. We plan those before the island is built.
Two-level and custom islands
A raised bar section can hide kitchen clutter from the living area. Custom islands can include open shelving, wine storage or furniture-style legs. We build them to fit your space and style.
Kitchen island FAQ
Kitchen Island Installation Questions, Answered
Common questions about kitchen island installation in Stanwood, WA.
How much space do I need for a kitchen island?
Plan for the island itself plus clear aisles around it. NKBA guidelines suggest at least 42 inches for a one-cook work aisle, 48 inches for two cooks and 36 inches for walkways. We measure your kitchen and tell you what size fits.
Can you add a sink to a new kitchen island?
Usually, yes. An island sink needs a drain, a vent and water lines run through the floor. It is typically easier over a crawl space than a concrete slab. We check the route during the walkthrough.
Does a kitchen island need an outlet?
Islands generally need provisions for power under current electrical code, and an outlet is handy for small appliances anyway. We plan the outlet placement so it meets code and fits the countertop design.
How long does kitchen island installation take?
A simple storage island can go in within a few days, plus time for the countertop. Islands with plumbing or wiring take longer because the utilities are run first. Your estimate includes the schedule.
Can I turn my peninsula into an island?
Often. We remove the peninsula, patch the flooring and build the island with proper clearance on all sides. We check for utilities in the peninsula first so nothing is cut by surprise.
Will adding an island mean new flooring?
Not always. If the flooring runs under the old cabinets or the island covers bare spots, patching may be enough. When flooring is missing or damaged, we match or extend it before the island goes in.
An island that fits the way you cook.
We plan the size, run the utilities, anchor the base and set the top, with one crew and one schedule. Flexible financing is offered through Enhancify, and 0% interest options may be available.
Updating more of the kitchen? We also handle kitchen cabinet installation, kitchen countertop installation and kitchen remodeling for Stanwood homes.