

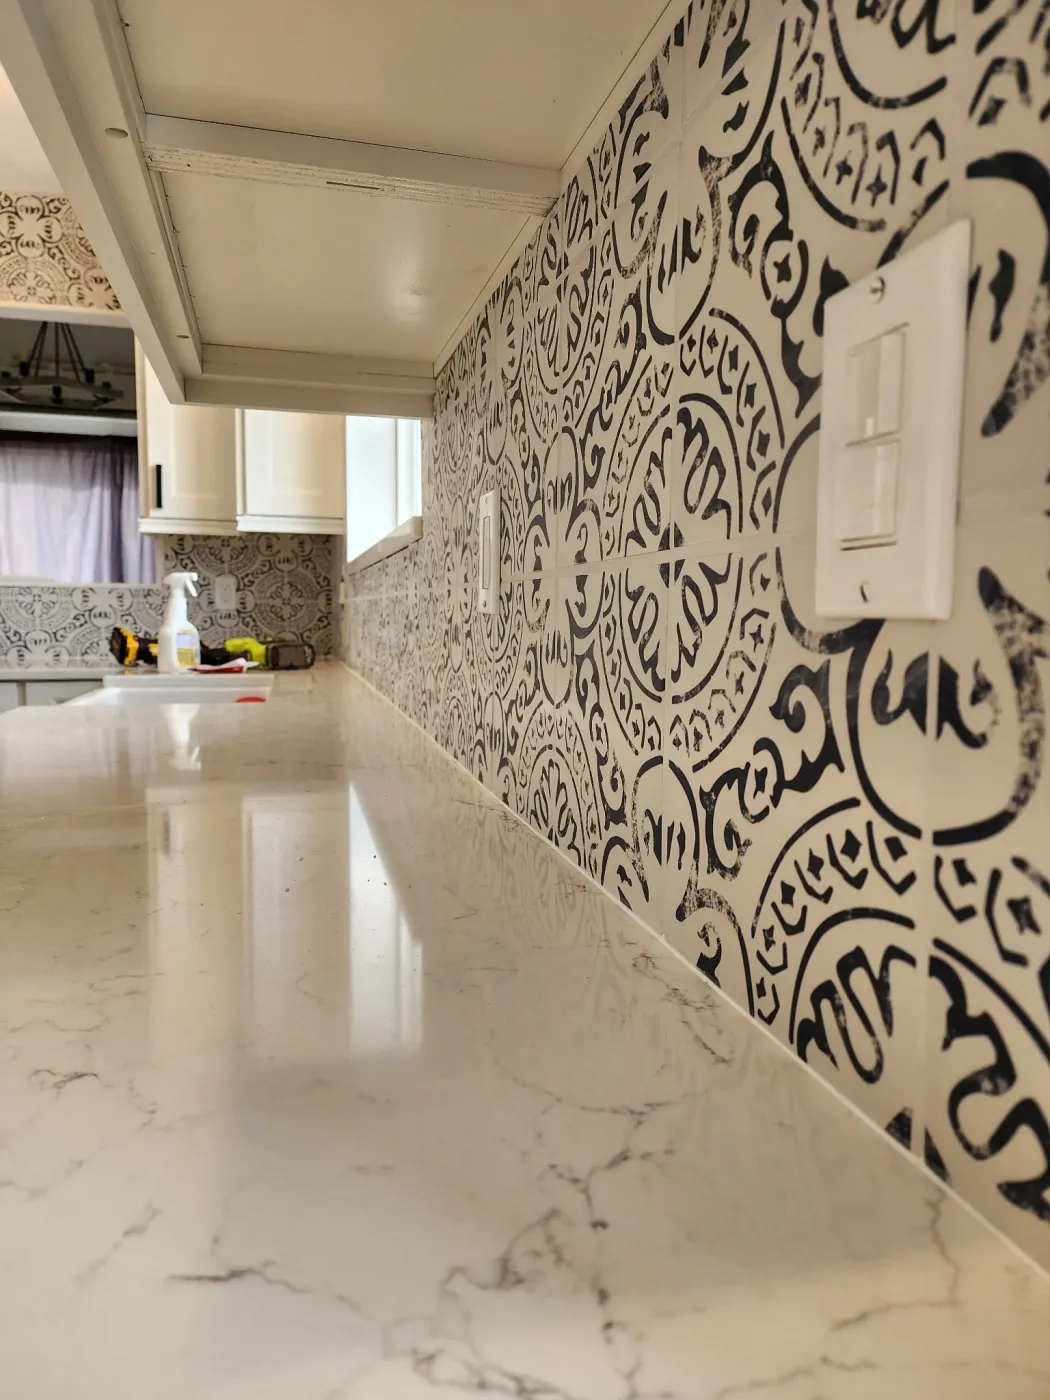
What's included
What Our Kitchen Backsplash Installation Includes
A backsplash is a small area with a big effect. Clean results depend on the prep and the layout.
- Removal of the old backsplash and repair of damaged drywall
- A layout planned around the range, sink, window and cabinet edges
- Outlet and switch boxes brought flush with the new tile surface
- Tile set, cut and grouted, with clean edges at cabinets and walls
- A flexible sealant joint where the tile meets the countertop
Local expertise
Backsplash Updates for Stanwood Kitchens
A new backsplash is one of the fastest ways to update a kitchen without replacing the cabinets.
The median home in Stanwood was built in 2001, and about 46 percent of homes date from 1990 to 2009, according to U.S. Census data. Many of those kitchens were built with only a short four-inch splash or bare painted drywall above the counters. Painted walls behind a sink or range stain easily and are hard to scrub clean. A full tile backsplash fixes both problems.
The wall behind the sink deserves a close look first. Years of splashing can soak the drywall along the counter, and a slow faucet leak can do worse. We repair water damage and mold for a living, so we check that wall when the old splash comes off. Soft or moldy drywall gets cut out and replaced with sound material before tiling.
Layout is what separates a good backsplash from an average one. We center the pattern on the range or window, plan where cut tiles land and keep grout lines level with the countertop. Outlets get extenders so the covers sit flat. The joint at the countertop gets flexible sealant rather than grout, because that seam moves slightly over time.
Our process
How Kitchen Backsplash Installation Works
Five steps from choosing tile to wiping down the finished wall.
Choose tile and plan the layout
We measure the wall area and help you choose tile, pattern and grout color. Then we plan where the pattern starts and where cut pieces land. The scope and price go into a written estimate.
Remove the old splash and repair the wall
The old backsplash comes off, and we check the drywall behind it, especially around the sink. Damaged sections are cut out and replaced. The wall must be flat, dry and solid before tile goes on.
Protect the kitchen and prep the boxes
Countertops, appliances and cabinets are covered. We shut off power to the outlets in the work area. Box extenders are fitted so outlets and switches will sit flush with the tile.
Set and cut the tile
Tile is set from a level starting line and cut cleanly around outlets, windows and cabinet ends. Spacers keep joints even across the whole wall. Edges get trim pieces or finished tile where the backsplash stops.
Grout, seal and clean
Once the tile has set, we grout the joints and clean off the haze. Natural stone and some grouts get sealed. We finish the counter and corner joints with color-matched sealant, then reinstall the outlet covers.
Backsplash options
Backsplash Tile We Install
The right tile depends on your style, your budget and how much cooking happens at that wall.
Ceramic and porcelain
These are the most popular backsplash choices. They are durable, easy to clean and come in nearly any color, size or finish. Classic subway tile falls into this group.
Glass tile
Glass reflects light and brightens a darker kitchen. It wipes clean easily behind a range. It needs careful cutting and a white or clear setting material so the color reads true.
Natural stone
Marble, travertine and slate add texture and character. Stone is porous, so it needs sealing to resist grease and water stains. We explain the upkeep before you choose it.
Patterns and accents
Herringbone, stacked, mosaic and patterned tiles each change the feel of a kitchen. A decorative panel behind the range makes a strong focal point. Complex patterns take more time, and your estimate reflects that.
Backsplash FAQ
Kitchen Backsplash Installation Questions, Answered
Common questions about kitchen backsplash installation in Stanwood, WA.
How long does backsplash installation take?
Most kitchen backsplashes take one to three days, including time for the tile to set before grouting. Wall repairs, complex patterns or a large area can add time.
Can you tile over my existing backsplash?
Sometimes, but we usually recommend removing it. Tiling over old tile adds thickness at outlets and cabinet edges and hides the wall condition. Removal lets us check for water damage behind it.
How high should a kitchen backsplash go?
Most backsplashes run from the countertop to the underside of the upper cabinets. Behind a range hood or on walls without uppers, many homeowners take the tile higher or to the ceiling.
What grout is best for a kitchen backsplash?
Standard cement grout works well in most kitchens when it is sealed. Epoxy and high-performance grouts resist stains better, which helps behind a busy range. We help you choose based on the tile and how you cook.
Do you install a backsplash with new countertops?
Yes. The backsplash goes in after the countertops, because the tile sits on top of them. Doing both together gives the cleanest result and one schedule to follow.
The wall behind my sink is soft. Can you still tile it?
Not until it is repaired. Soft drywall usually means water has been getting in. We cut out the damaged section, check for mold, fix the source and replace the drywall before tiling.
A backsplash that finishes the kitchen.
We repair the wall, plan the layout and set the tile so every line looks intentional. Flexible financing is offered through Enhancify, and 0% interest options may be available.
Updating more of the kitchen? We also handle kitchen countertop installation, kitchen cabinet installation and kitchen remodeling for Stanwood homes.